iPhone eSIM Setup Guide: Complete Installation in 5 Minutes
iPhone eSIM Setup Guide: Complete Installation in 5 Minutes
Setting up an eSIM on your iPhone is simpler than you think. Whether you're traveling abroad or adding a second line for work, this guide will walk you through every step of iPhone eSIM installation.
What You'll Need
Before starting, make sure you have:
- An eSIM-compatible iPhone (iPhone XS, XR, or newer)
- iOS 12.1 or later
- A stable Wi-Fi or cellular connection
- Your eSIM QR code from eSIM Station
Pro tip: iPhone 14 and newer models (US versions) don't have a physical SIM tray at all - they're eSIM-only!
Step 1: Check iPhone eSIM Compatibility
Not all iPhones support eSIM. Here's the complete list:
- iPhone XS, XS Max, XR (2018+)
- iPhone 11, 11 Pro, 11 Pro Max
- iPhone SE (2nd gen, 2020+)
- iPhone 12 series
- iPhone 13 series
- iPhone 14 series (eSIM only in US)
- iPhone 15 series
- iPhone 16 series
To verify your iPhone supports eSIM:
- Open Settings > General > About
- Scroll down to Digital SIM
- If you see this option, your iPhone supports eSIM
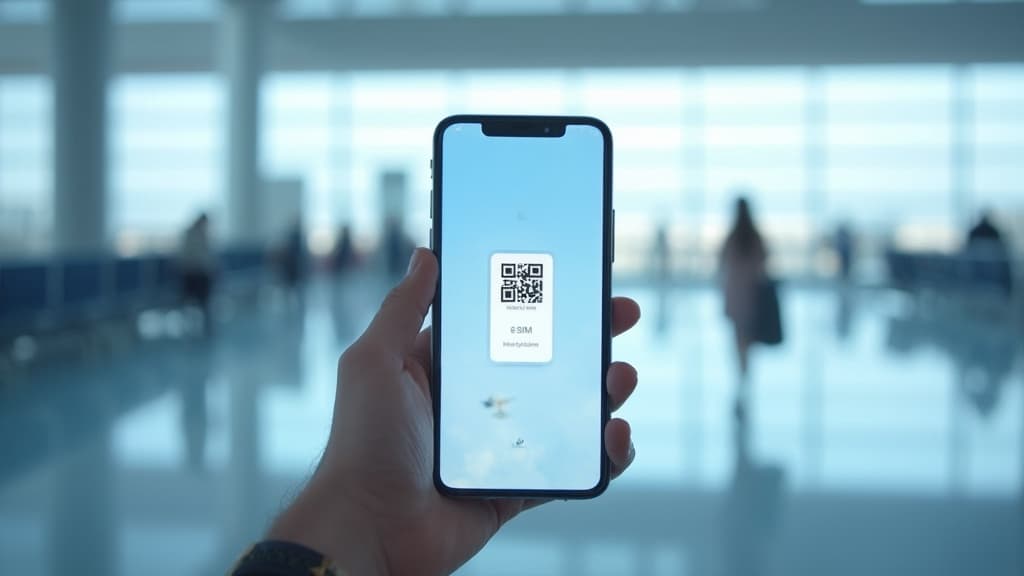
Step 2: Get Your eSIM QR Code
Purchase your eSIM plan from eSIM Station and you'll receive:
- A QR code via email
- Installation instructions
- Your plan details
Keep this QR code ready - you'll scan it in the next step.
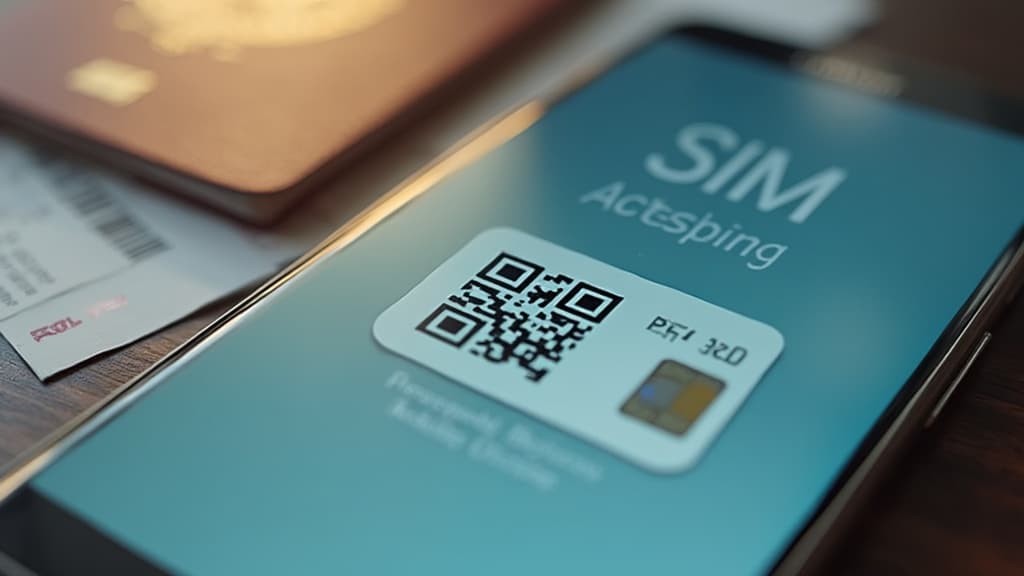
Step 3: Install eSIM via QR Code
This is the most common method:
- Open Settings on your iPhone
- Tap Cellular (or Mobile Data)
- Tap Add Cellular Plan
- Scan the QR code using your camera
- Tap Continue when prompted
- Choose a label for your plan (Travel, Work, Personal, etc.)
- Select which line to use for Default Voice and iMessage
- Tap Continue to complete setup
Installation takes 30-60 seconds. You'll see "Cellular Plan Added" when complete.
Step 4: Activate Your eSIM
After installation:
- Go to Settings > Cellular
- You'll see two plans listed (if you have a physical SIM)
- Tap your new eSIM plan
- Turn on "Turn On This Line" if it's not already enabled
- Enable Data Roaming (required for travel eSIMs)
Your eSIM should connect within 2-3 minutes. Look for the signal bars at the top.
Alternative Method: Manual Installation
If scanning doesn't work, you can enter details manually:
- Go to Settings > Cellular > Add Cellular Plan
- Tap Enter Details Manually
- Input the SM-DP+ Address and Activation Code from your email
- Tap Continue and follow the prompts
Managing Multiple eSIMs on iPhone
iPhones can store up to 8 eSIMs but only use 2 lines simultaneously (1 physical + 1 eSIM, or 2 eSIMs on iPhone 14+).
To switch between eSIMs:
- Settings > Cellular
- Tap the eSIM you want to use
- Toggle "Turn On This Line"
To delete an eSIM:
- Settings > Cellular
- Tap the eSIM
- Tap "Remove Cellular Plan"
- Confirm deletion
Important: Deleted eSIMs may not be reinstallable. Check with eSIM Station before removing.
Troubleshooting Common Issues
eSIM Won't Activate
- Check Wi-Fi: You need internet during installation
- Carrier Settings: Update via Settings > General > About
- Restart iPhone: Simple but effective
- Contact Support: eSIM Station can resend your QR code
"Invalid QR Code" Error
- Make sure the QR code is clear and not damaged
- Try manual installation instead
- Verify the code hasn't been used on another device
No Signal After Installation
- Enable Data Roaming in Cellular settings
- Check if you're in a covered area
- Allow 5-10 minutes for initial connection
- Try turning Airplane Mode on/off
"Cellular Plan Cannot Be Added"
- Your iPhone might be carrier-locked
- Contact your original carrier to unlock
- Not all carriers support eSIM (especially older contracts)
Using iPhone Dual SIM (Physical + eSIM)
Perfect for travelers who want to keep their home number:
Primary (Home): Physical SIM - calls, texts, iMessage
Secondary (Travel): eSIM - mobile data abroad
How to set this up:
- Settings > Cellular
- Tap Default Line - choose your physical SIM for calls
- Tap Cellular Data - choose your eSIM for internet
This way you receive calls on your home number while using cheap local data!
Best Practices for iPhone eSIM
✅ Install before traveling - Airport Wi-Fi is slow
✅ Keep your QR code saved - Screenshot or save to Notes
✅ Label your plans clearly - "Turkey Data", "Work Line", etc.
✅ Test before you go - Activate and verify connection at home
✅ Disable automatic updates - Prevents data usage surprises
❌ Don't delete by accident - Some eSIMs can't be reinstalled
❌ Don't forget data roaming - It must be ON for travel eSIMs
❌ Don't use the same eSIM on two devices - Most allow only one installation
Why Choose eSIM Station for iPhone
- Instant delivery - QR code via email in minutes
- No registration - Buy with just email, no account needed
- 24/7 support - Help with installation issues
- Global coverage - 200+ countries and regions
- Flexible plans - Data-only from 1GB to unlimited
- Compatible with all iPhone models (XS and newer)
Ready to Go?
You're now set up with eSIM on your iPhone! Whether you're:
- Traveling for work or vacation
- Adding a second line for privacy
- Switching to eSIM-only (iPhone 14+)
eSIM makes staying connected abroad easier and cheaper than ever.
Need an eSIM? Browse plans for your destination at eSIM Station - installation takes just 5 minutes, and you'll be connected the moment you land.
Got questions? Our support team is available 24/7 to help with iPhone eSIM setup. Reach out anytime at support@esimstation.com.
Related Articles
Canada eSIM Guide: Stay Connected from Toronto to Vancouver in 2026
Everything you need to know about using an eSIM in Canada - from choosing the right plan to coverage across major cities and national parks.
How to Set Up eSIM on Android: Complete Guide for Samsung, Pixel & More (2026)
Step-by-step guide to setting up eSIM on Samsung Galaxy, Google Pixel, OnePlus, and other Android phones. Includes troubleshooting tips and compatibility list for 2026.
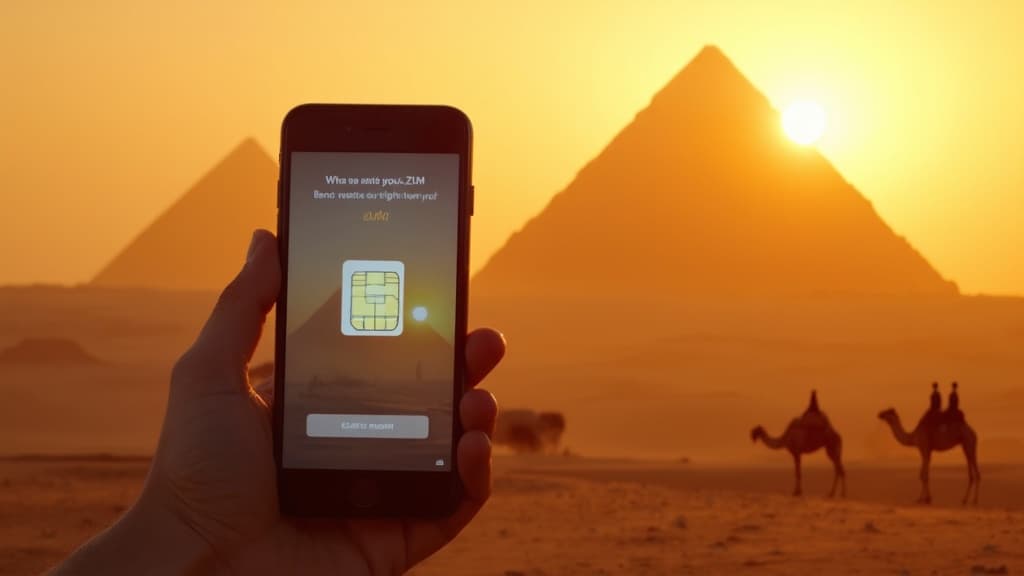
Egypt eSIM Guide: Stay Connected from Cairo to the Red Sea in 2026
Your complete guide to using an eSIM in Egypt in 2026. Coverage tips for Cairo, Luxor, the Red Sea, and the Western Desert, plus setup instructions and data plan recommendations for every travel style.